

How To Draw A Line In Word 2010
If you want to add a horizontal line inside a Word certificate, you can do it by using the formatting tools. But inserting a vertical line is a little trickier. You have to insert the line as a shape. Discussion lets you tweak the line's colour, shape, manner, angle, thickness and alignment. Y'all can likewise add visual furnishings such as 3-D styles, outlines and shadows.
In this tutorial, you will learn the different ways to draw a line within a Give-and-take document.
Method one: Using Shapes Menu
The very basic method to draw a line inside a Discussion document is to draw it. You tin can practise this past using the Shapes carte. This menu has several options such as lines with arrow points on one or both the ends. You lot tin too customize the appearance and color of the line later on drawing information technology.
Please follow the steps below:
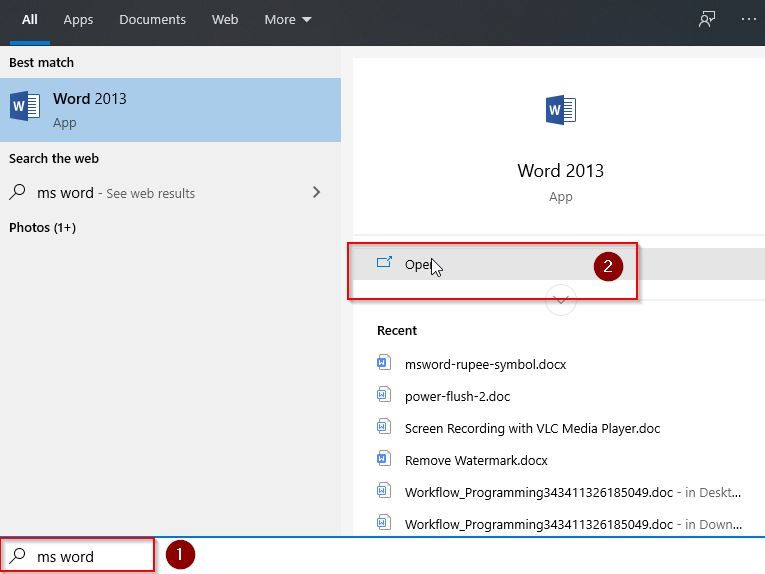
- Open Ms Word, Double-click a Word document that you want to edit, or double-click the WordApp Icon and click Blank document to open up a new document.
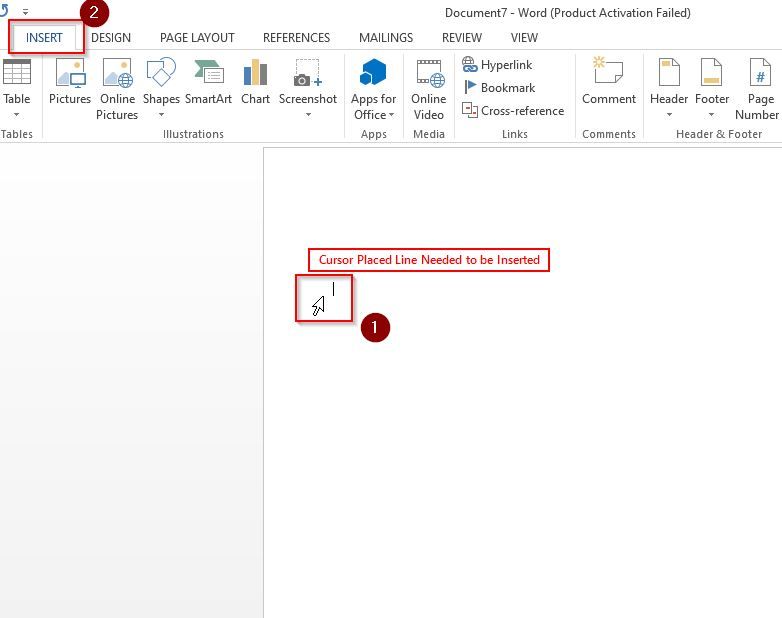
- Now identify the cursor where you want to insert a line and click Insert
- Click on Shapes driblet-down pointer bachelor in In the Illustrations group.
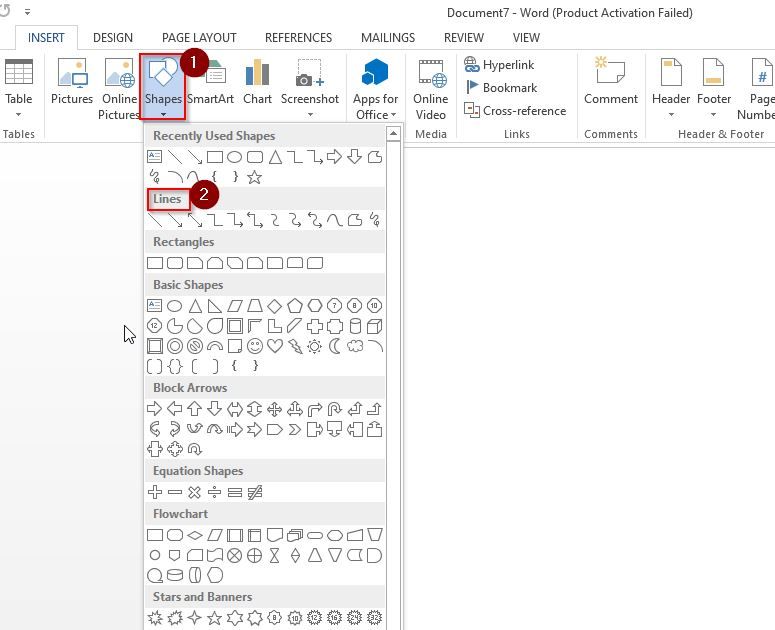
- Next,choose the shape of the line from the line group
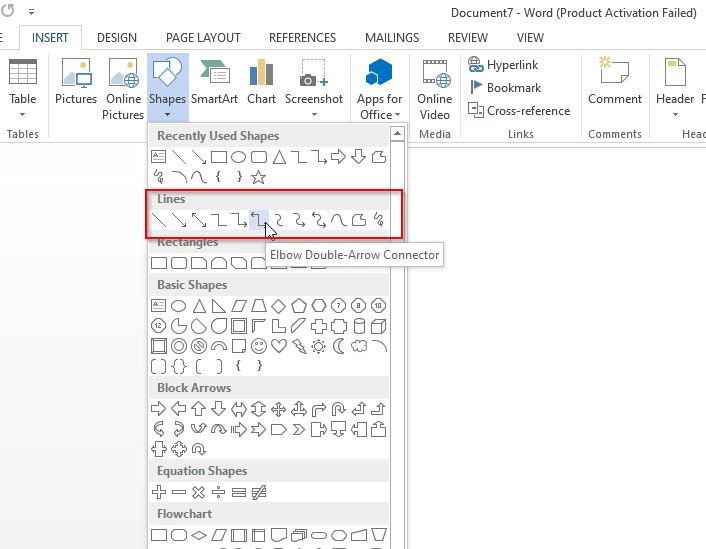
- Inside the certificate, click on the shape and elevate beyond the area where you wish the line to be placed.
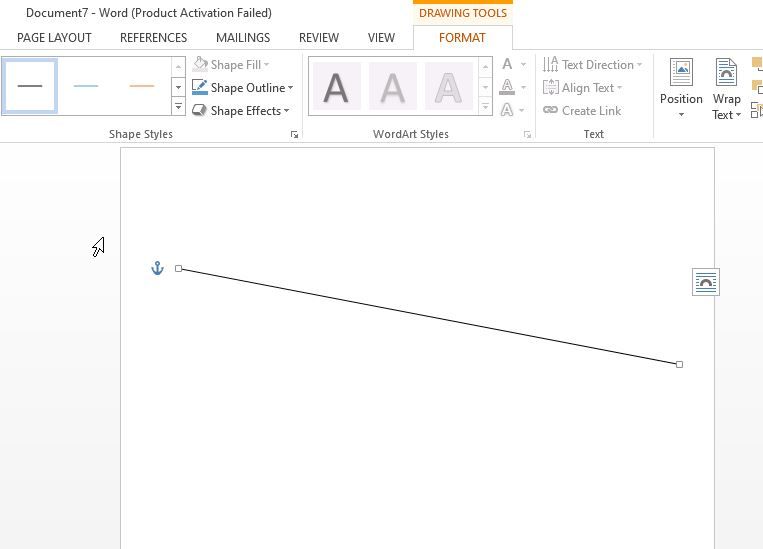
Creating Vertical Line
- Put your cursor where yous want the line to begin. Then, drag information technology to the expanse where you want the line to end.
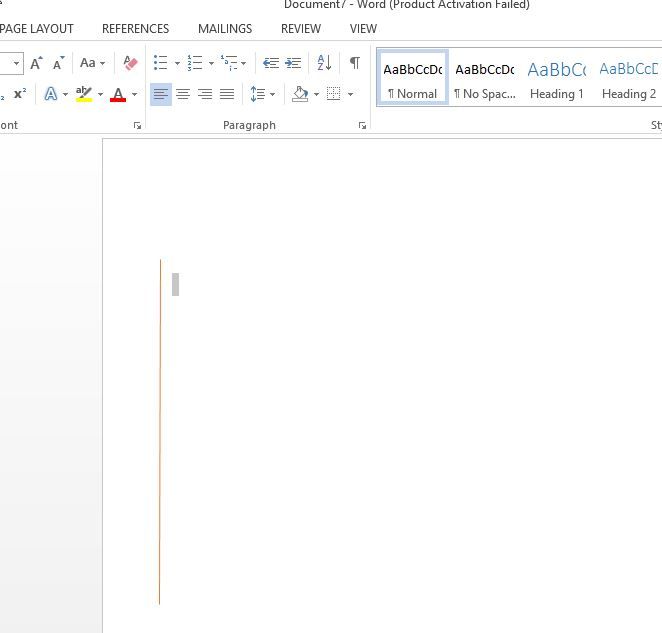
Note: If you press the Shift key and elevate the mouse while drawing the line, y'all can hands become an accented horizontal or vertical orientation.
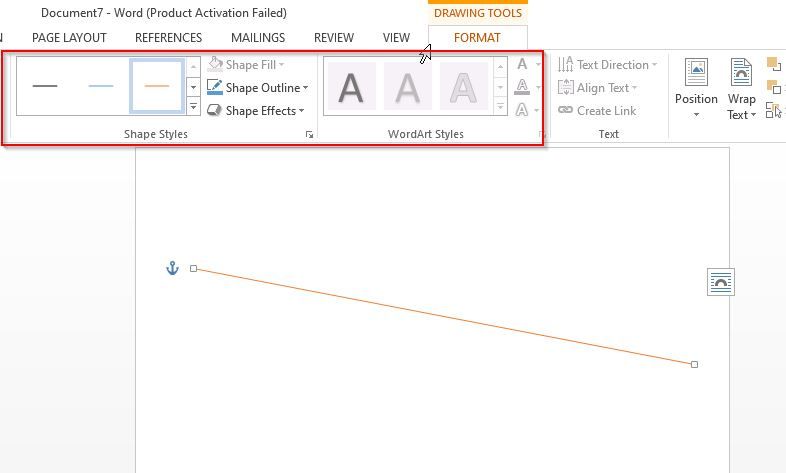
Change Style of Line
- You can alter the manner of the line, for that select the line and so click Format tab (Shape Format for some versions).
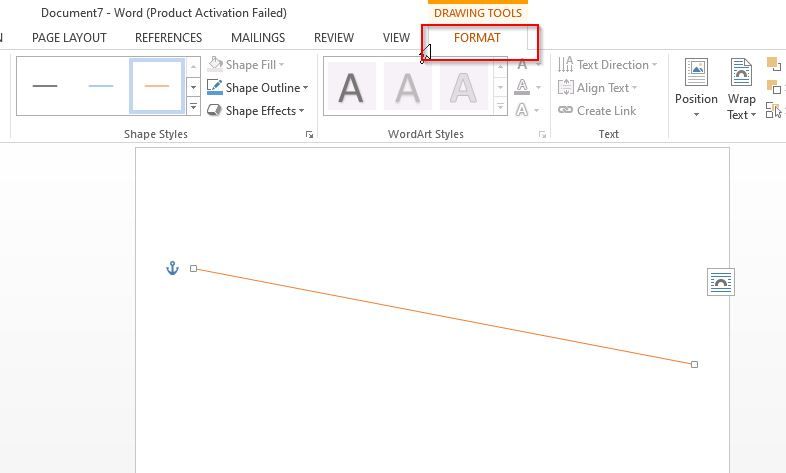
- In this Format tab you change the colour, style or employ effects to the line.
Method two: Using the Horizontal Line Tool
Some other piece of cake way to insert a line in the Discussion document is by using the Horizontal Line Tool nowadays already. Let us see how you lot can employ it.
Please follow the steps beneath in order to insert a line Horizontal Line Tool:
- Place the cursor in the discussion document where you want to draw a line and click Dwelling Tab
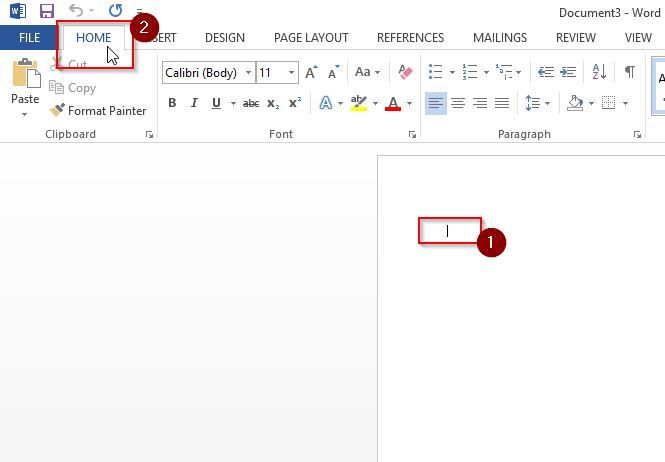
Notation: When you open up a New Word document or an existing one, the Habitation tab is selected by default.
- Now go to Paragraph group and click on the Border drop-downward and select Horizontal Line.
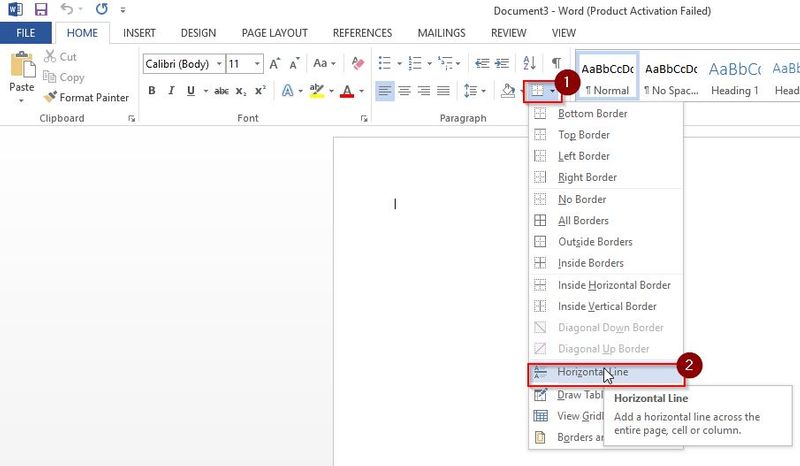
- A Horizontal Line will be inserted to your word document.
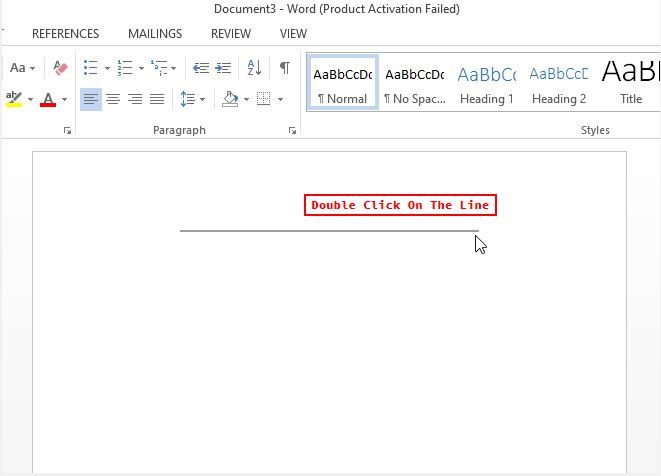
Change Style of the Line
In gild to change the style (look) of the horizontal line, double click on the line
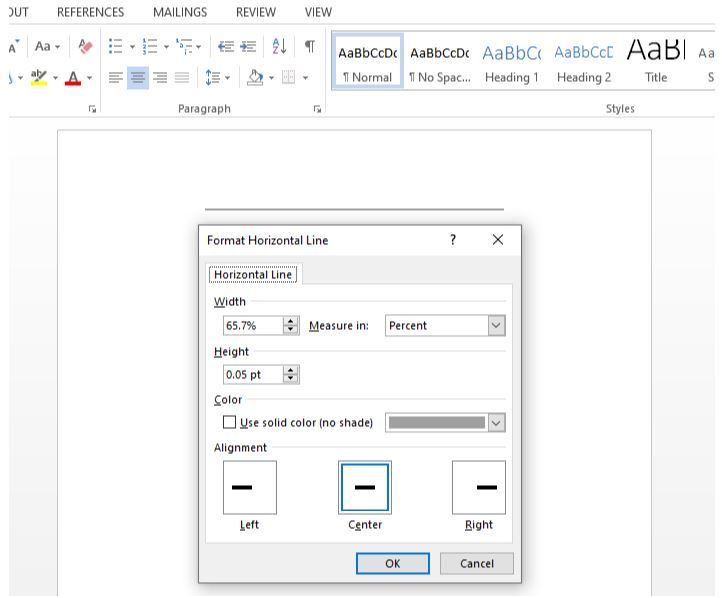
A Format Horizontal Line dialog box will appear where you tin alter the width, top, color and alignment of the line.
Method 3: Insert Line Above or Below Heading
Lines are usually used in Word to decorate a heading or a subheading. It decorates the text and makes it eye-cathy, and also helps to divide the document into sections.
Please follow the steps below
- First place the cursor on the heading (where yous want to add together line) and click on Home Tab.
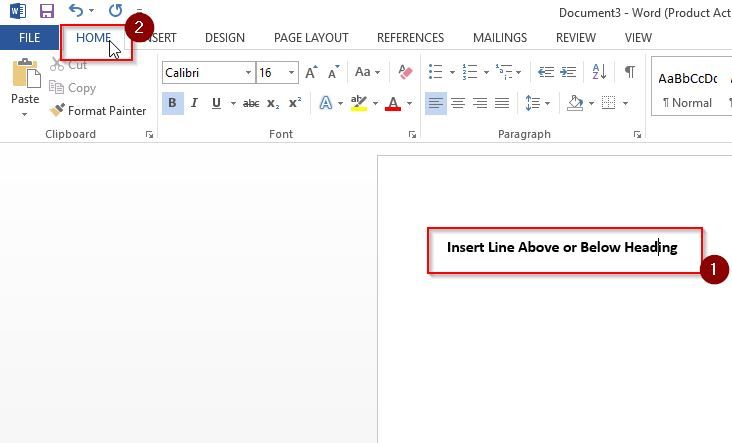
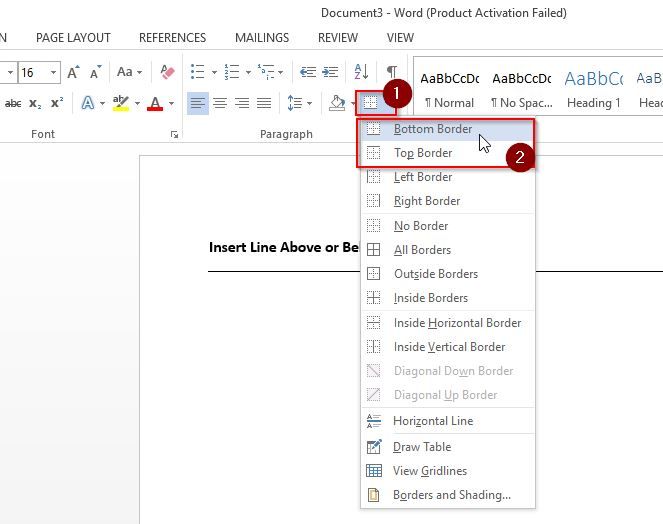
- Now go to Paragraph group and click on the Border drop-downwardly and select Bottom Border to add line below Heading or Top Border to add line above Heading.
Method 4: Create Lines Using Keyboard
Another piece of cake way to create a line in Word is to press the hyphen fundamental 3 times and hit the Enter fundamental. This will automatically create a directly line. Y'all can also replace the hyphen cardinal with an underscore or the equals symbol. This will give you thicker lines and doubles lines respectively. Hash signs can be used to drawing triple lines with thick centers.
You tin apply the Asterisk symbol to create a dotted line or apply tildes to draw some wavy lines.
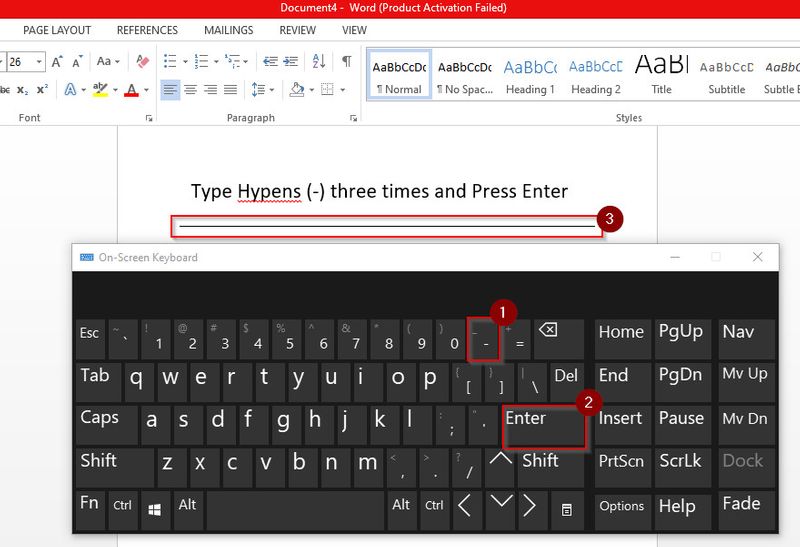
Using Hyphens (---)
- Just type three hyphens and press Enter on your Keyboard.
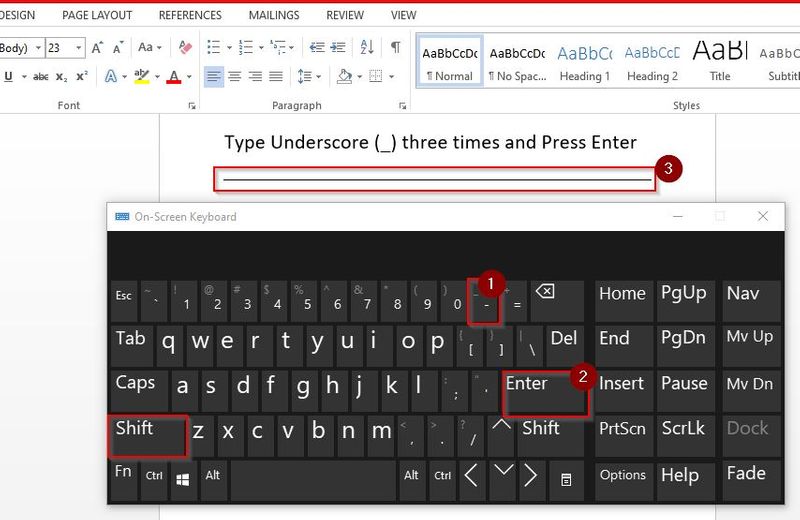
Using Underscore (___)
- Simply type three underscore and press Enter on your Keyboard for thicker line.
Notation: Press Shift + Hyphen to type Underscore
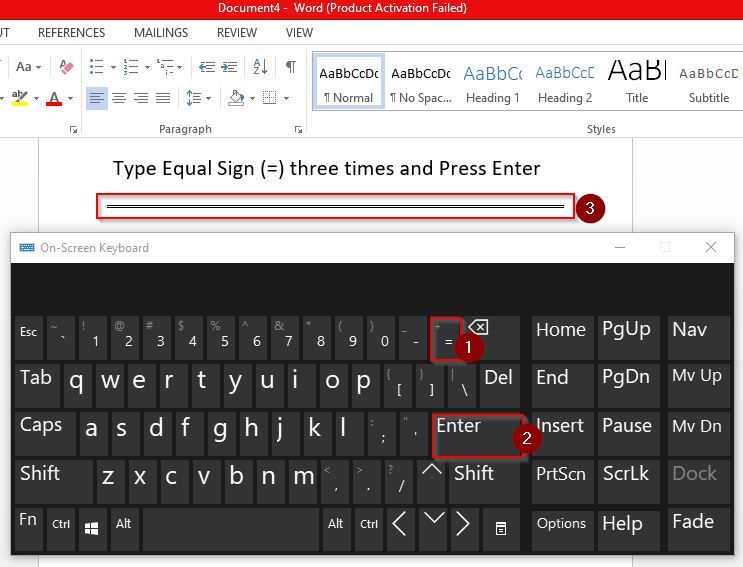
Using EqualTo Sign (===)
- Just type three EqualTo sign and printing Enter on your Keyboard for double line.
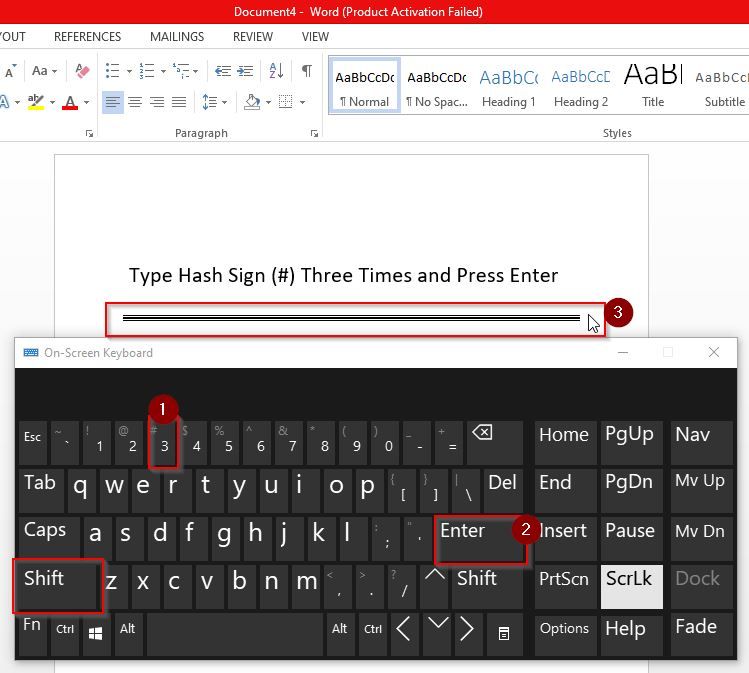
Using Hash Sign (###)
- Just type iii hash signs and printing Enter to create triple line with a thick center
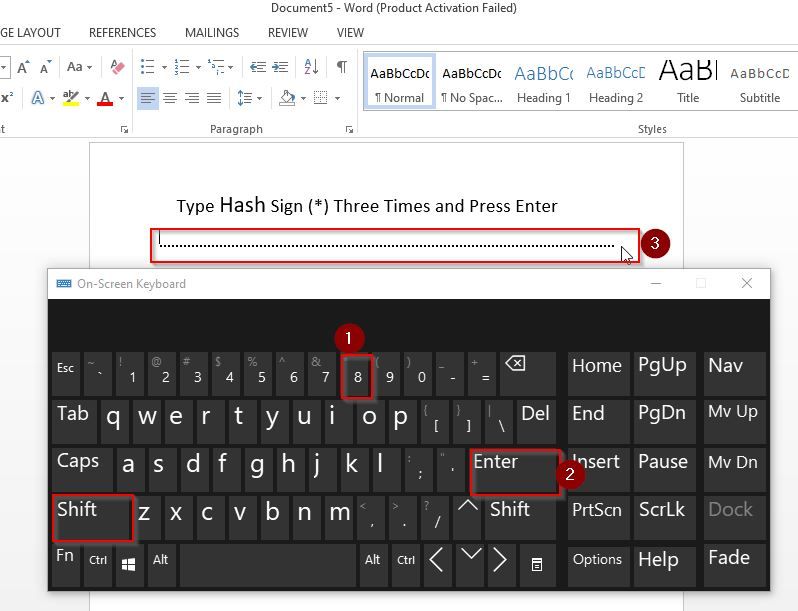
Using Asterisk Sign (***)
- Just blazon 3 asterisk Sign and printing Enter to create a broken or dotted line.
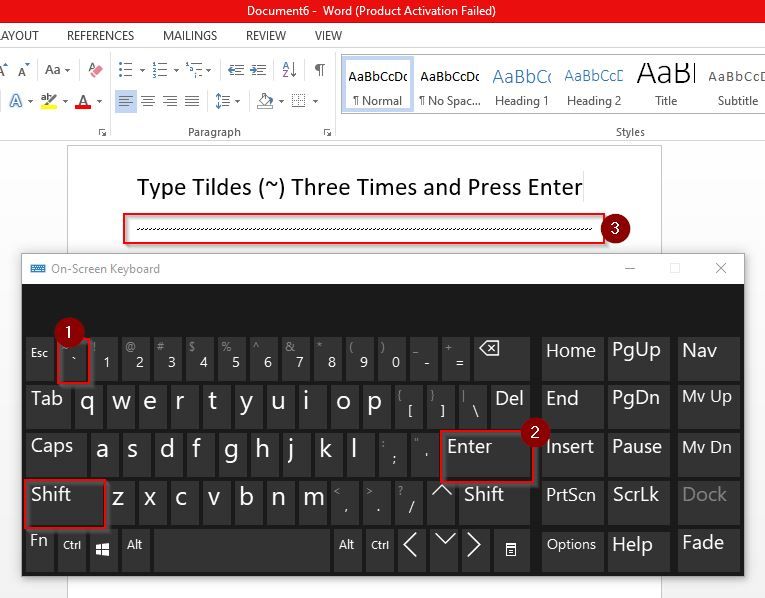
Using Tildes (~)
- Simply type 3 tildes and press Enter to create a wavy line
Conclusion
All of the methods described above are uncomplicated and easy to insert your desired lines in a Discussion document. Modification of the styles, colors and alignments is also like shooting fish in a barrel with Word'due south in-built line formatting tools. So, become ahead and play around with these methods a bit until you find the i that suits you the best.

Source: https://www.stechies.com/draw-line-ms-word/
Posted by: mackwently99.blogspot.com
0 Response to "How To Draw A Line In Word 2010"
Post a Comment